What you need:
Directions:
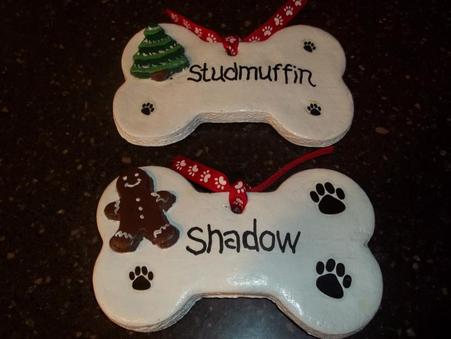
The little dog head and the holly were additional cut outs using cookie cutters to create the shapes.
Some crafters add a touch of cinnamon to give them a wonderful aroma.
After the cookies are cool:
You can personalize them by painting on a dog's or cat's name. Although the ornaments will smell wonderful, they are not for consumption.
- 2 cups flour
- 1 cup regular salt
- 1 cup water
- Food coloring - colors of your choice
- Cinnamon optional - makes them smell great
- Cookie cutters - designs of your choice. For this project, bone shaped cutters and fish cutters made the main designs
- Paint
- Polyurethane sealant
- Ribbon
Directions:
- Combine the flour, salt, water, cinnamon to form a dough
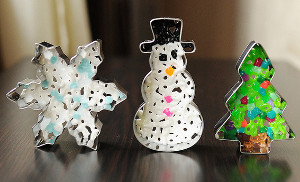
- Roll out the dough and cut out shapes with the cookie cutters
- Add food coloring if you desire to various parts of the dough
- Poke holes in the top of the cookie with a toothpick
- Bake at 200 degrees for about 2-3 hours until completely dry.
- Let cool.
The little dog head and the holly were additional cut outs using cookie cutters to create the shapes.
Some crafters add a touch of cinnamon to give them a wonderful aroma.
After the cookies are cool:
- Spray or paint polyurethane to seal them and give them a shine
- Add ribbon to turn into a hanging ornament
You can personalize them by painting on a dog's or cat's name. Although the ornaments will smell wonderful, they are not for consumption.
Source: http://frostingfran.blogspot.com/2012/11/diy-christmas-dog-gifts.html
 RSS Feed
